
Are you ready to transform your website into a stunning, user-friendly masterpiece?
Installing Divi on WordPress is your ticket to a world of endless design possibilities, all without needing to write a single line of code.
Whether you’re a seasoned web designer or just starting out, our step-by-step guide will walk you through the process with ease.
Dive in and discover how Divi can revolutionize your site, making it not only beautiful but also incredibly functional.
So grab a cup of coffee, roll up your sleeves, and let’s get started on creating the website of your dreams!

If you need help creating your website, don’t hesitate to contact us. Click here.
What is Divi?
Divi is more than just a WordPress theme; it’s a powerful tool that puts you in the driver’s seat of your website design. Whether you’re a seasoned developer or a complete beginner, Divi’s user-friendly interface makes creating beautiful, customized sites a breeze.
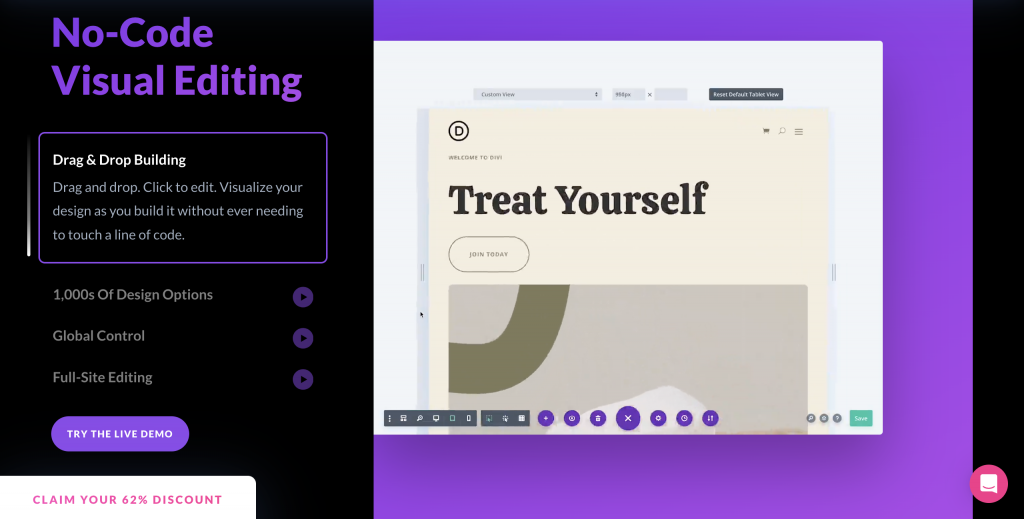
Imagine having the freedom to craft your site’s look and feel without touching a single line of code—Divi makes this possible with its intuitive drag-and-drop builder. Plus, its extensive customization capabilities mean you can tailor every aspect of your site to fit your vision perfectly.
And let’s not forget about responsiveness—Divi ensures your site looks fantastic on any device, providing a seamless experience for your visitors. As one industry expert notes, “Divi is revolutionizing the way we think about web design, making it accessible and enjoyable for everyone.”
Why Choose Divi for Your Website?
Choosing Divi for your WordPress site is like having a professional design team at your fingertips. One of the standout features is its drag-and-drop builder, which empowers you to create stunning layouts with ease. Say goodbye to complicated coding and hello to an enjoyable, hands-on design experience! With Divi, you can literally see the magic happen as you build and customize your site in real-time.
Another reason to love Divi is its vast collection of pre-made layouts and templates. These professionally designed options provide a fantastic starting point, allowing you to craft a visually appealing site without starting from scratch. Whether you’re launching a blog, an online store, or a portfolio, Divi has a template to match your needs.
Lastly, Divi offers advanced design settings that give you complete control over your website’s aesthetics—all without writing a single line of code. From typography to spacing, colors, and effects, every element is customizable. This level of control allows you to create a unique online presence that truly reflects your brand’s personality.
Preparing for Divi Installation
Before you dive into the world of Divi, it’s essential to ensure your setup is ready for a smooth installation. Proper preparation will save you time and prevent potential headaches down the road.
System Requirements
First things first, make sure that your hosting provider supports WordPress. This is crucial because Divi is a WordPress theme, and you’ll need a compatible environment to make the most of its features. Additionally, check your PHP version compatibility.
WordPress recommends using PHP version 7.4 or higher for optimal performance and security. Running the latest PHP version not only enhances your site’s speed but also fortifies it against vulnerabilities.
Backup Your Existing Website
Before making any major changes to your site, always backup your existing website. This step is crucial to protect your data and settings. Utilize a reliable backup plugin to create a complete copy of your site’s files and database.
This ensures that if something goes wrong during the installation, you’ll have a safety net to fall back on. Remember, it’s better to be safe than sorry—save your settings and content now to avoid any potential data loss later.
Step-by-Step Guide to Install Divi on WordPress
Ready to transform your website with Divi? Follow this simple guide to get started and bring your design ideas to life.
Step 1: Purchase and Download Divi
The first step in your Divi journey is to purchase and download the theme from Elegant Themes. Head over to the Elegant Themes website and explore the various plans they offer. Choose a plan that best suits your needs—whether you’re building a personal blog or a business site, there’s an option for everyone.
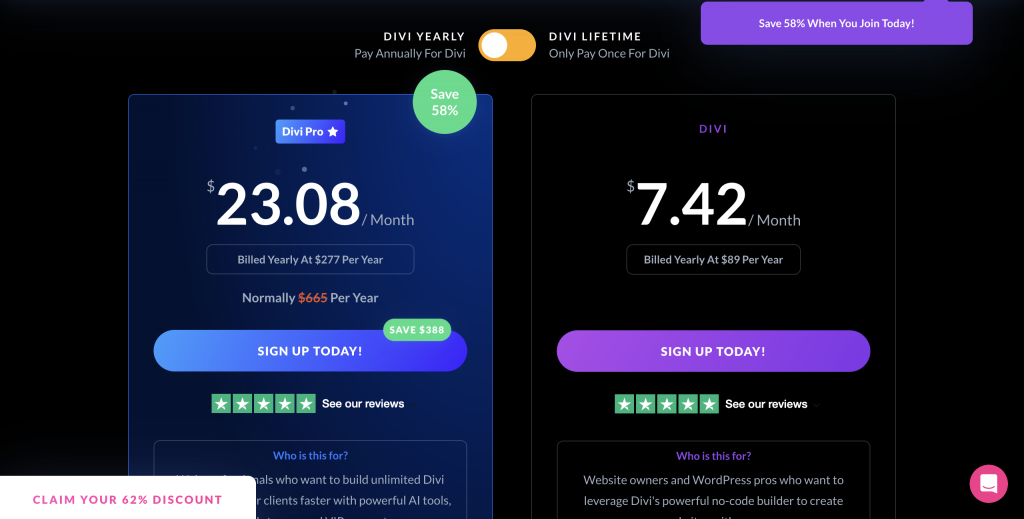
Once you’ve selected your plan, proceed with the purchase. After completing your transaction, you’ll gain access to the Divi theme package. Download the package to your computer—this file will be essential for the installation process. Having this file ready means you’re just moments away from unlocking a world of design possibilities with Divi.
Step 2: Upload Divi to WordPress
With your Divi theme package downloaded, it’s time to integrate it into your WordPress site. This process is straightforward and only takes a few minutes.
- Log in to your WordPress dashboard. Begin by entering your login credentials at
yourwebsite.com/wp-adminto access your dashboard. This is your control center where all the magic happens. - Navigate to Appearance > Themes > Add New. Once you’re in the dashboard, look for the “Appearance” tab on the left sidebar. Hover over it, and you’ll see a dropdown menu—click on “Themes.” From there, click on the “Add New” button at the top of the page.
- Upload the Divi.zip file and activate the theme. Click on “Upload Theme” at the top of the page, then choose the Divi.zip file from your computer that you downloaded earlier. Once selected, click “Install Now.” After a few moments, WordPress will upload and install the theme. Finally, click “Activate” to make Divi your active theme.
Congratulations! You’ve successfully uploaded and activated Divi on your WordPress site. Now you’re ready to start designing your site with all the powerful tools that Divi has to offer.
Step 3: Activate Your Divi License
To fully leverage the power of Divi and ensure your site remains up-to-date with the latest features and security patches, it’s crucial to activate your Divi license. Here’s how:
Begin by navigating to the Divi tab in your WordPress dashboard and selecting “Theme Options.” Once there, click on the “Updates” tab. You will need to enter your Elegant Themes username and API key, which you can find in your Elegant Themes account under the “Account” tab. Input these details into the respective fields to link your theme with your Elegant Themes license.
By activating your license, you’ll receive automatic theme updates and access to premium support. This step is vital for keeping your site secure and running smoothly, as regular updates bring enhancements, fix bugs, and improve compatibility with new WordPress versions.
Customizing Your Website with Divi
The Divi Builder is at the heart of Divi’s impressive customization capabilities. This drag-and-drop interface allows you to effortlessly design and arrange elements on your pages. Simply drag modules like text, images, and buttons into place, and watch as your vision comes to life in real-time.
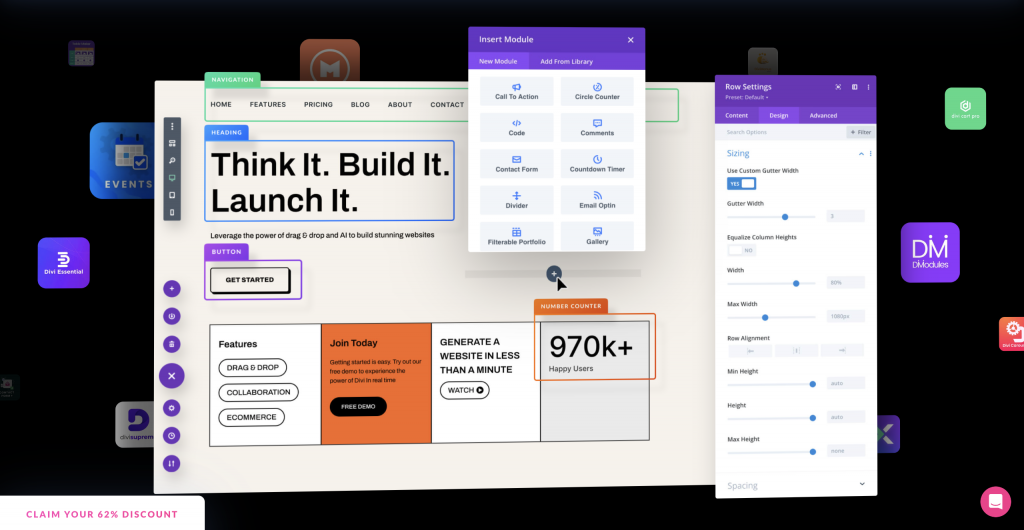
If you’re looking to jumpstart your design process, utilize the pre-made layouts that come with Divi. These professionally designed templates cover a wide range of styles and industries, providing you with a quick and easy way to create a polished site. Choose a layout that fits your project, and customize it to match your brand’s aesthetic.
If you need help creating your website, don’t hesitate to contact us. Click here.
Conclusion
In conclusion, installing Divi on your WordPress site is a straightforward process that opens up a world of design possibilities. With its intuitive drag-and-drop builder, extensive library of pre-made layouts, and powerful customization features, Divi equips you to create a stunning and functional website with ease. Whether you’re a novice or an experienced designer, Divi provides the tools you need to bring your vision to life while ensuring your site is responsive and professional.
If you need any assistance with implementing Divi or have questions along the way, don’t hesitate to reach out. We’re here to help! Contact us via our contact form, or connect with us on Instagram and Facebook. We look forward to supporting you on your web design journey!